

Welcome to the Smart Map In Python Tutorial Series. In the previous tutorial we downloaded the ATOM IDE installation file, and installed it using the Ubuntu Software Center. After that we opened our ATOM IDE for the first time and installed some external packages to help us in our development process. Lastly we verified that our embedded terminal was functioning.
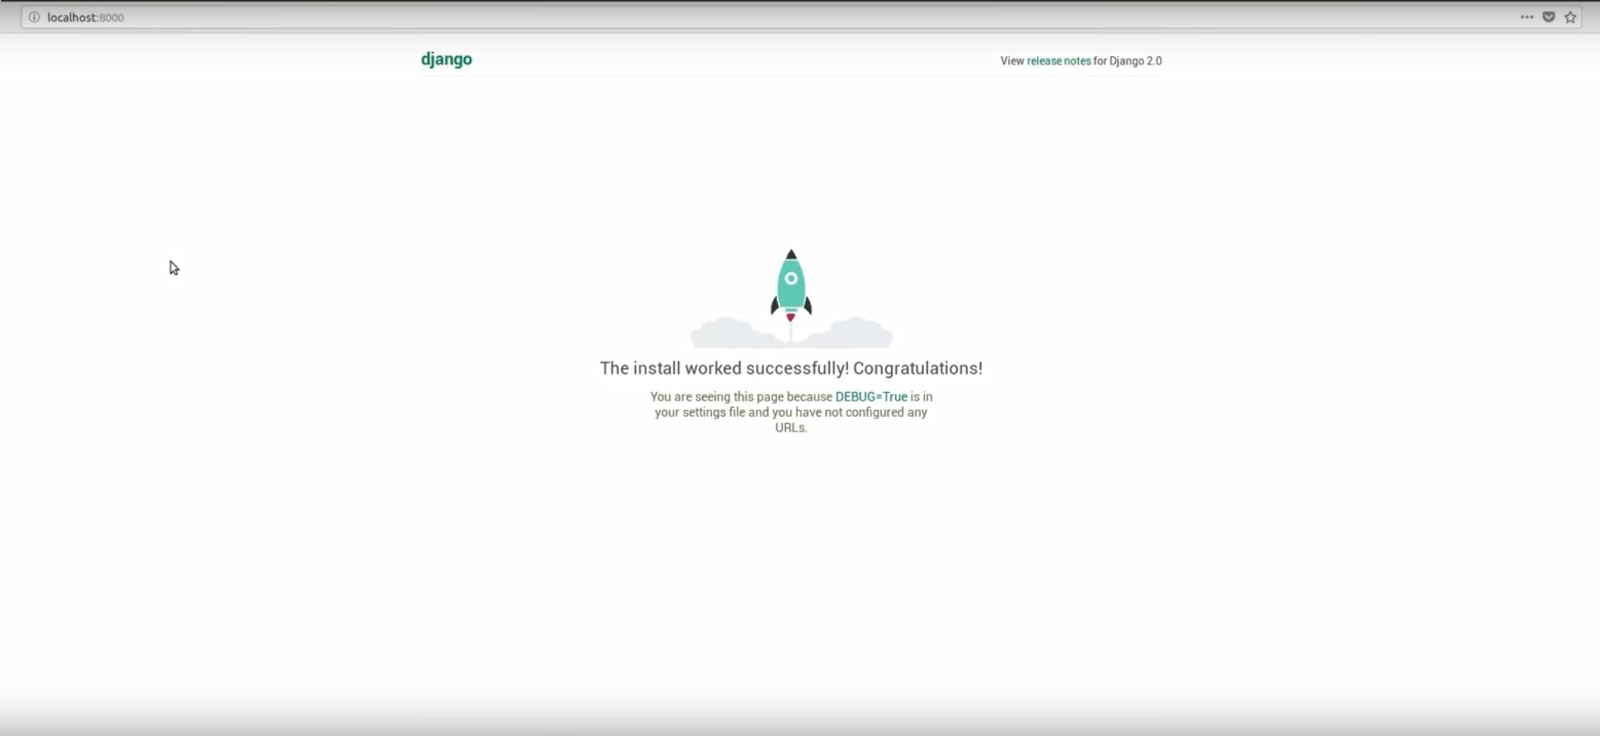
In this tutorial we will be creating our GeoDjango application skeleton. After we have created our application skeleton, we will open the project in our ATOM IDE. Once our project is open we will run the server, and test if our project was created and installed successfully. We will be expecting a web page with a message telling us that Django was installed successfully.
If you want to check out the video, click on the link below. Remember to Like and Subscribe and hit the Notification button to make sure you're aware of the latest video we will publish.
Smart Map in Python Tutorials - Creating a GeoDjango Application Skeleton (Video)
 |
| Bubble plot on open street map |
Step 1: Open the Atom IDE from the start menu

Step 2: Open the terminal in the bottom pane

Step 3: Change to root user
~$ sudo bash

Step 4: Navigate to the EBISYS-Tutorials folder on your desktop
~$ cd ~/Desktop/EBISYS-Tutorials/
Step 5: Activate the virtual environment
~$ source venv/bin/activate
Step 6: Change into the WaterWatch folder
~$ cd WaterWatch
Step 7: Create the waterwatch project
~$ django-admin.py startproject waterwatch .
Step 8: Verify that the project as well as manage.py has been created
~$ ls

Step 9: Verify that the settings.py has been created inside our project folder
~$ cd waterwatch
~$ ls

Step 10: Go back to the WaterWatch folder
~$ cd ..
Step 11: Create the waterwatch app
~$ python manage.py startapp waterwatchapp
Step 12: Verify that the waterwatch app has been created
~$ ls

Step 13: Change into the waterwatchapp folder
~$ cd waterwatchapp
Step 14: Verify that our app files have been created
~$ ls

Step 15: Go back into the Desktop
~$ cd ..
~$ cd ..
~$ cd ..
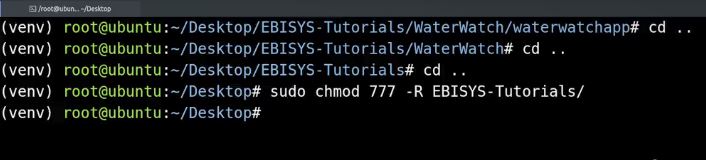
Step 16: Change the permissions of the EBISYS-Tutorials folder and sub-folders, in order to open the project in the Atom IDE
~$ sudo chmod 777 -R EBISYS-Tutorials/
Step 17: Open the project folder in the Atom IDE


Step 18: Change back into the WaterWatch folder
~$ cd EBISYS-Tutorials/WaterWatch/
Step 19: Start the Django server
~$ python manage.py runserver


Step 20: Enter the development server url address into the browser, and verify that Django was successfully installed.
That is about all we need to cover for creating a GeoDjango application skeleton. I hope you enjoyed it and it will add some value to the projects you are currently busy with.
Stay tuned for the next tutorial in the Smart Map in Python Tutorial Series where we will be adding GIS support to our GeoDjango application.


Hi, I would like to acquire the complete tutorial, on the internet I can not find you could help me yours this is great. I will be grateful.
ReplyDeleteHi thanks for your response.
DeleteThe full tutorial is available in the following link:
https://www.geo.university/courses/smart-map-in-python-tutorial
DeleteHello I got the course, but some parts in the video I can not see the code because it cuts on the editor screen. would send the source to the email. or there is some repository that is the code.
I would like to know how to configure the leaflet but in setgins it is not possible to visualize all the code.
My email is raimundo.silvabv@gmail.com I am following the course very well.
Hello I got the course, but some parts in the video I can not see the code because it cuts on the editor screen. would send the source to the email. or there is some repository that is the code.
ReplyDeleteI would like to know how to configure the leaflet but in setgins it is not possible to visualize all the code.
My email is raimundo.silvabv@gmail.com I am following the course very well.
Great Article
ReplyDeleteFinal Year Projects in Python
Python Training in Chennai
FInal Year Project Centers in Chennai
Python Training in Chennai