Introduction
In this post, we’ll explore the steps to set up a Python virtual environment on Windows 11. This is an essential skill for any Python developer as it allows you to manage dependencies and keep your projects organized.
Why Use a Virtual Environment?
- Isolation: Keeps your project’s dependencies separate from other projects.
- Control: You have control over the packages and versions installed in your environment.
- Reproducibility: Makes it easier to share and collaborate with others by ensuring consistency across setups.
Prerequisites
- Windows operating system
- Python installed (version 3.3 or later)
Step 1: Create a Project Folder
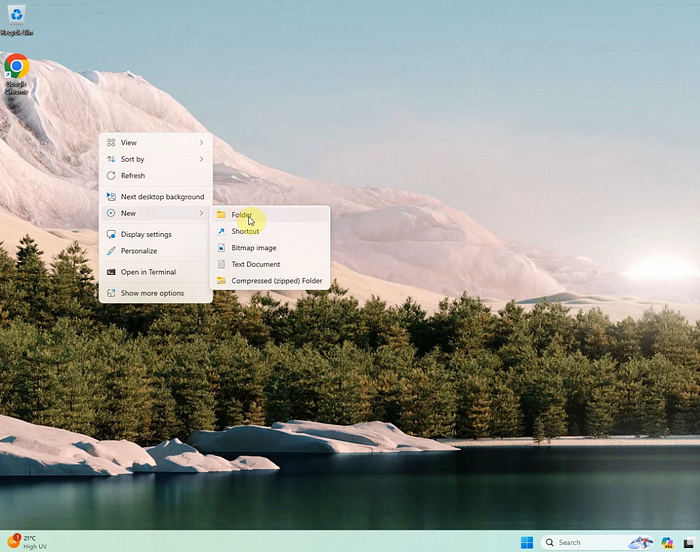
Firstly, we need to create a new folder for our project. Right-click in your desired location, select ‘New’ then ‘Folder’,
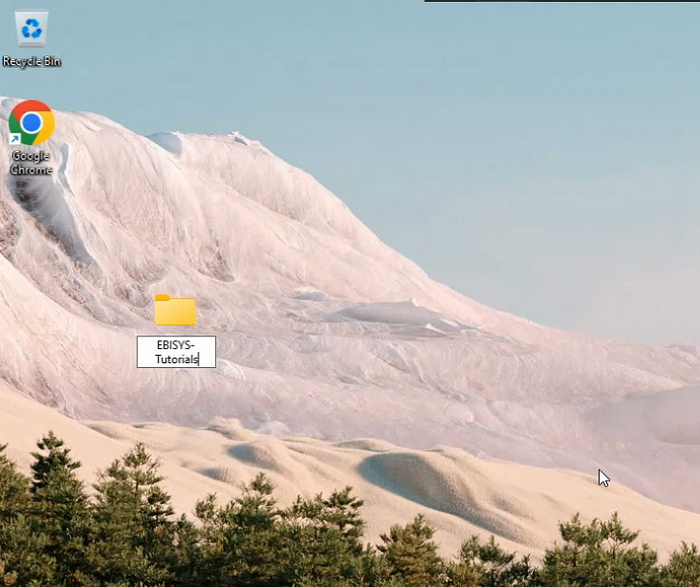
and give it a name, mine is ‘EBISYS-Tutorials’.
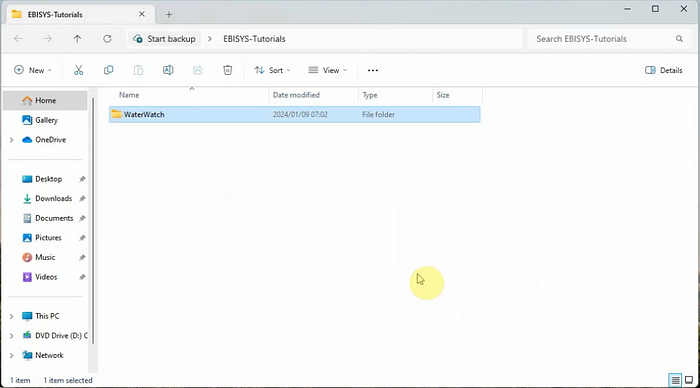
Inside this folder, create another folder, I will name it ‘WaterWatch’.
Step 2: Open Command Line Prompt
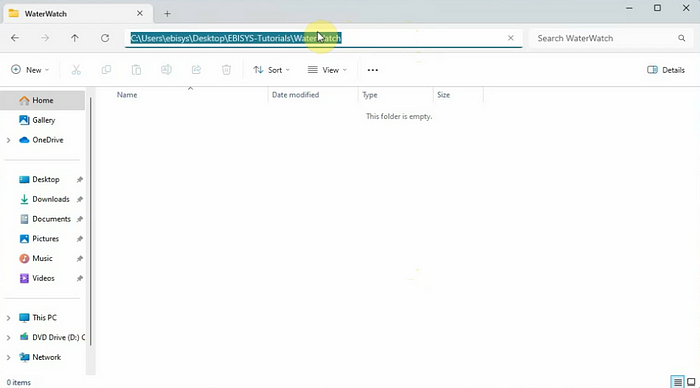
Next, open the ‘WaterWatch’ folder and copy its path. We will need this path to create our virtual environment.
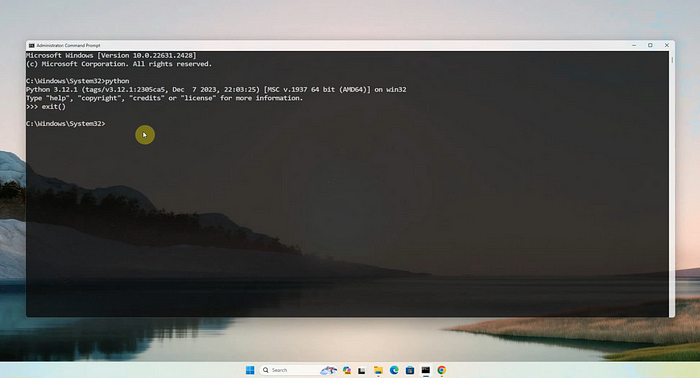
Now, open your command line prompt.
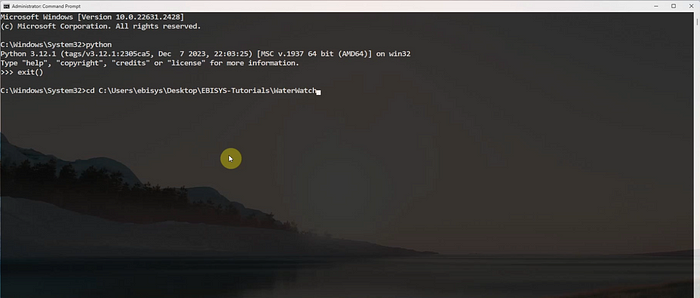
Change the directory to the location of our ‘WaterWatch’ project folder, by typing cd followed by the path to the folder, and press enter.
Step 3: Install Virtualenv
Now, we are going to use the Python Pip installer to install a tool called virtualenv. This tool will allow us to create a Python virtual environment.
To install it, run the following command:
pip install virtualenv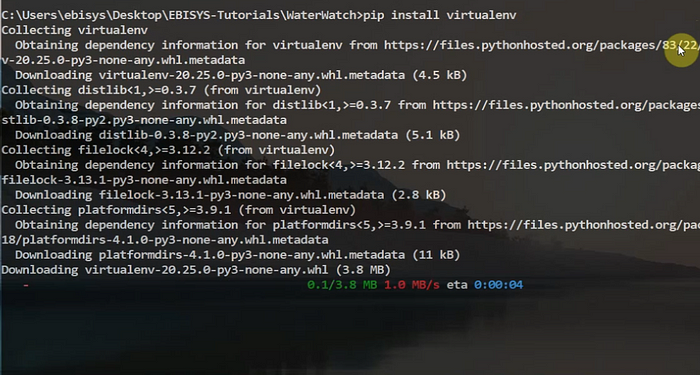
Step 4: Create a Virtual Environment
Once virtualenv is installed successfully, we need to create our virtual environment. To do this, type virtualenv followed by the name of the virtual environment. You can choose any name you want; we will name it ‘venv’.
virtualenv venv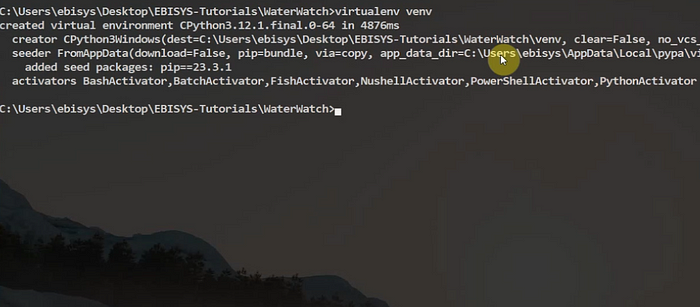
Step 5: Verify the Creation of the Virtual Environment
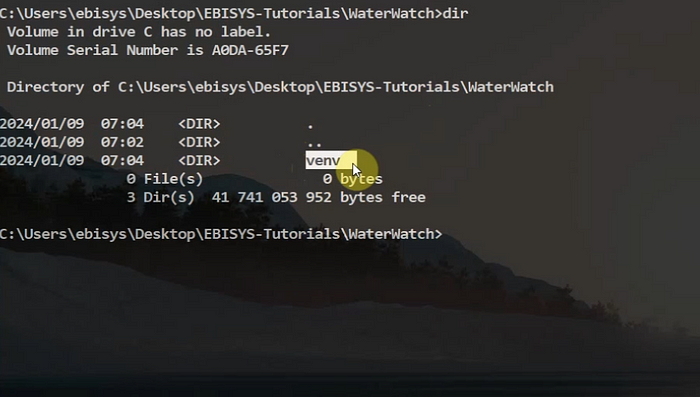
After the virtual environment has been created, let’s verify it. Run the dir command. You should see that our virtual environment folder ‘venv’ has been created.
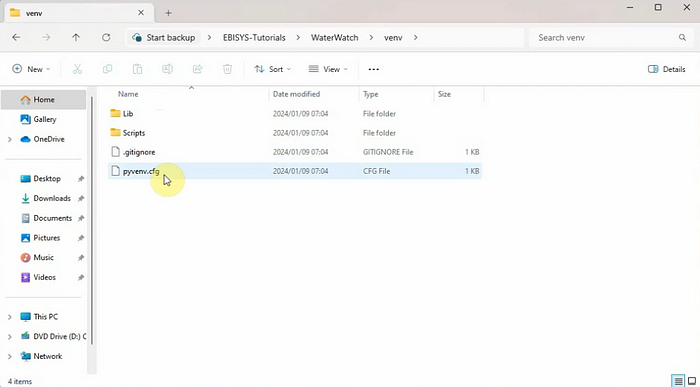
You can also verify this inside the project folder.
Step 6: Test the Virtual Environment
Now, let’s test if our virtual environment works. To activate our virtual environment, run the following command:
venv\Scripts\activate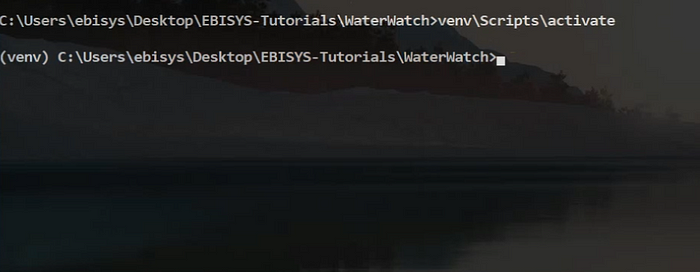
You’ll see the prefix ‘(venv)’ in your command line, which means that our virtual environment is active.
Any third-party libraries that we install now, will be installed inside this virtual environment, separate from our system, to avoid any conflicts with system-wide libraries.
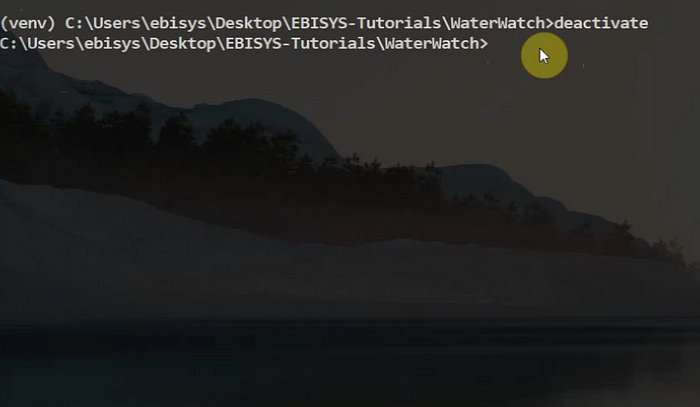
To deactivate the virtual environment, simply type deactivate.
deactivateYou’ll see that the ‘(venv)’ prefix is gone, indicating that we are back to our normal system path.
Now we have successfully created our python virtual environment.
Conclusion
Creating a virtual environment in Python on Windows is straightforward and beneficial for your development workflow. By following these steps, you can ensure that your projects are clean and manageable.
So that’s it for this tutorial. I will see you in the next one, thank you.


