
Introduction
PostgreSQL is a powerful open-source relational database management system, and PostGIS is an extension that adds spatial capabilities to PostgreSQL. In this tutorial, we’ll walk through the steps to install PostgreSQL 16 and PostGIS on a Windows machine.
Prerequisites
Before we begin, make sure you have the following:
- A Windows operating system (Windows 10 or later)
- Administrative privileges on your machine
Step 1: Download PostgreSQL
Open your web browser and search for “postgresql download”:

Click on the postgresql.org link:

Select the Windows installer:
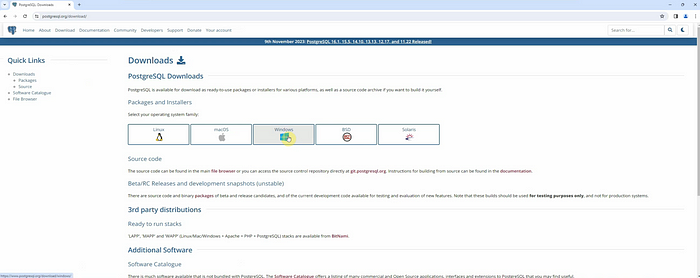
Click on “Download the installer”.
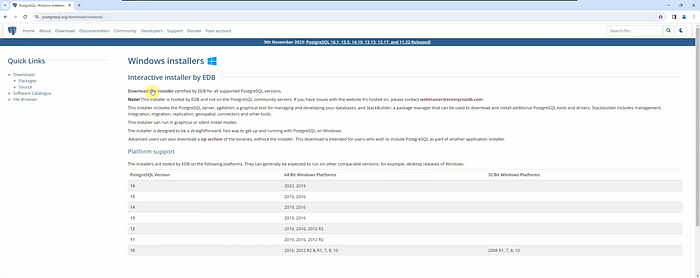
Choose the latest PostgreSQL version and select the Windows installer.
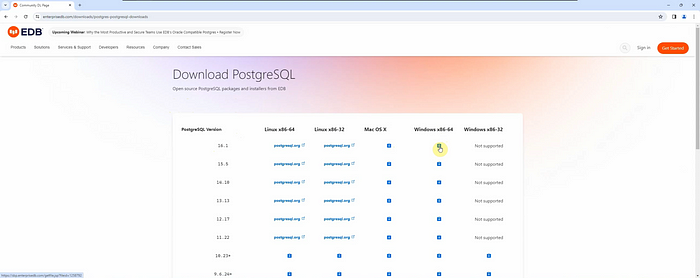
Step 2: Install PostgreSQL
Locate the installer file you just downloaded.
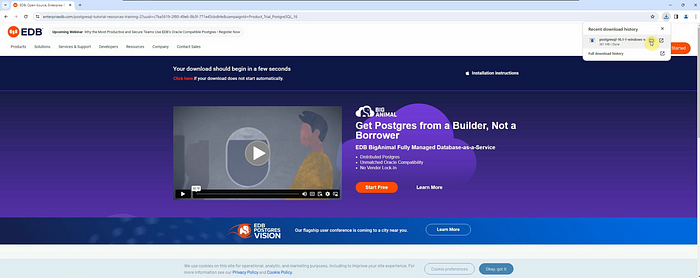
Double-click the installer to start the installation process.
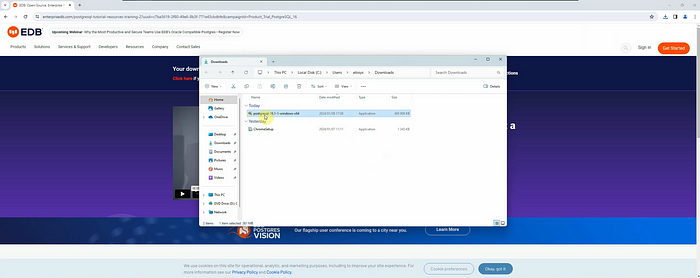
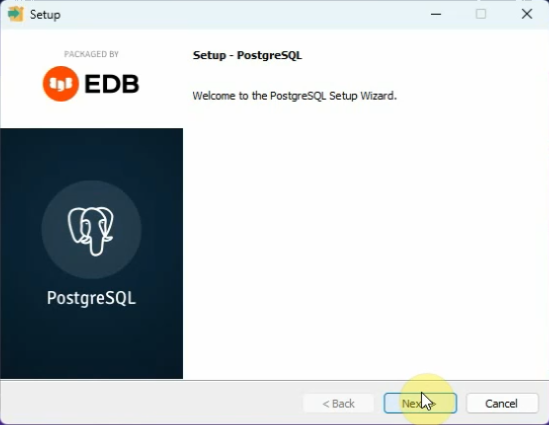
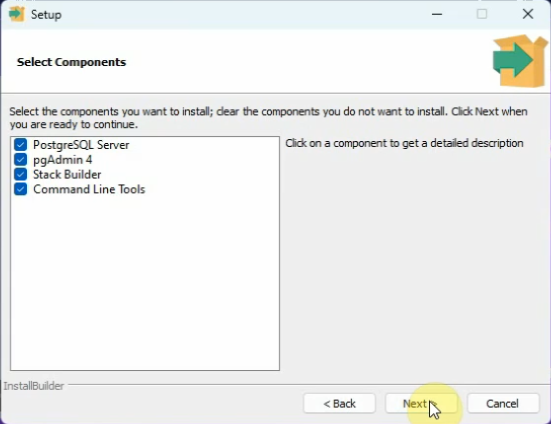
Click “Next” and ensure all components are selected for installation.
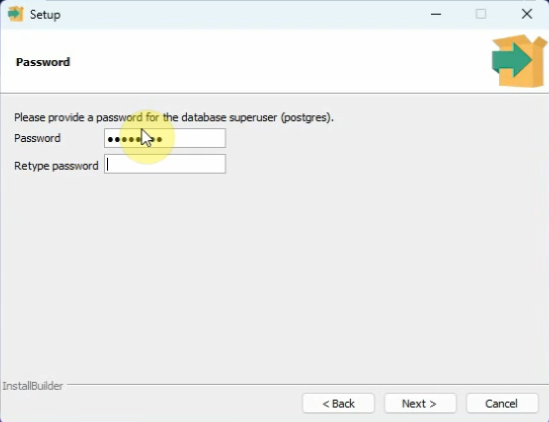
When prompted for a password, use “postgres” (all lowercase). This is just for the sake of this example and makes it easier to remember.
Keep the default port and proceed with the installation.
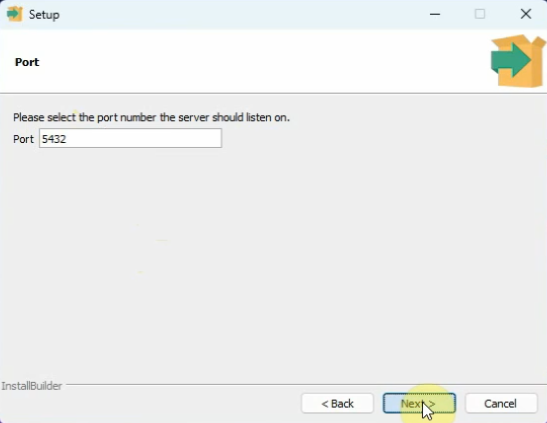
Wait for the installation to complete.
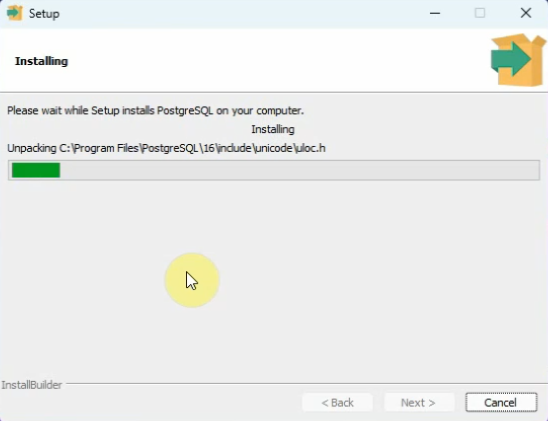
Step 3: Install Additional Add-ons Using Stack Builder
Once PostgreSQL is installed, you will have the option to launch the Stack Builder.
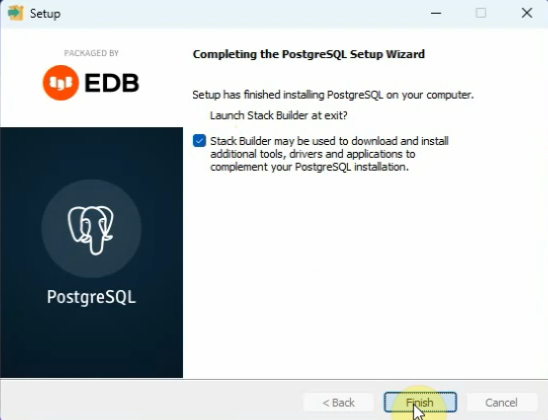
For this guide, we will be installing PostGIS, PG Agent, and the ODBC driver for PostgreSQL.
Ensure that the Stack Builder option is checked and then click “Finish”.
Step 4: Use Stack Builder
In the Stack Builder window, select your PostgreSQL version and port, then click “Next”.
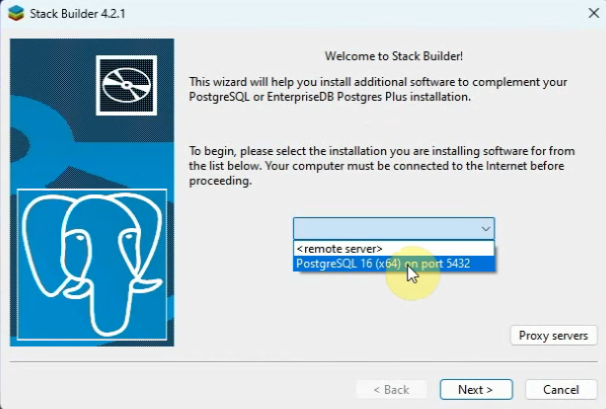
You will see a list of add-ons. The first one to install is “pgAgent”.
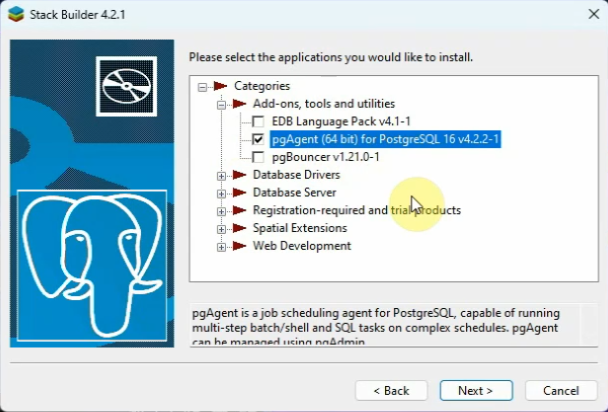
Next, install the database driver. This will allow you to connect to PostgreSQL from any application. Select the 64-bit version.
Lastly, select the PostGIS extension. Click on “Spatial Extensions” and select the latest version.
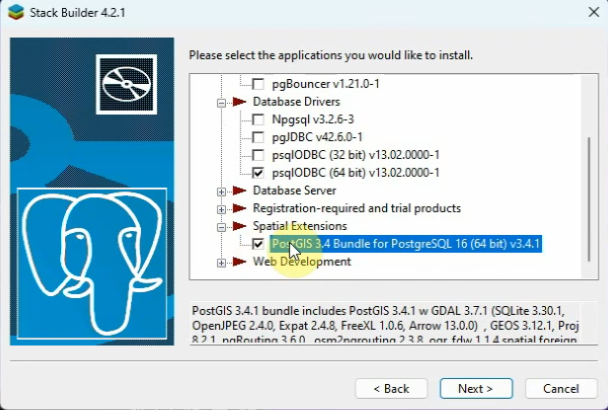
Ensure all the required options are checked, then click “Next” and proceed with the installation.
Step 5: Install the Tools
Start installing all the tools.
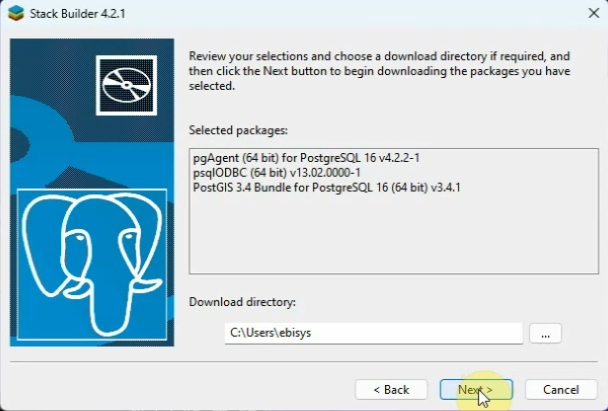
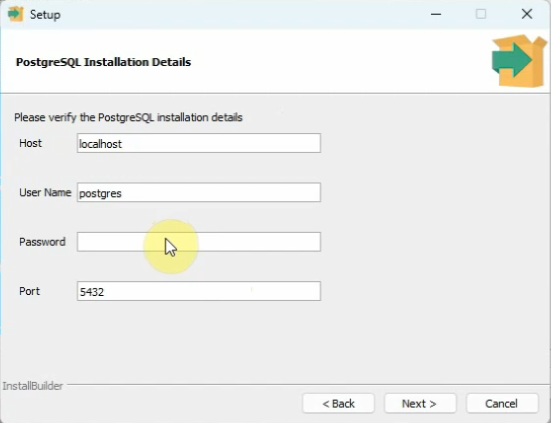
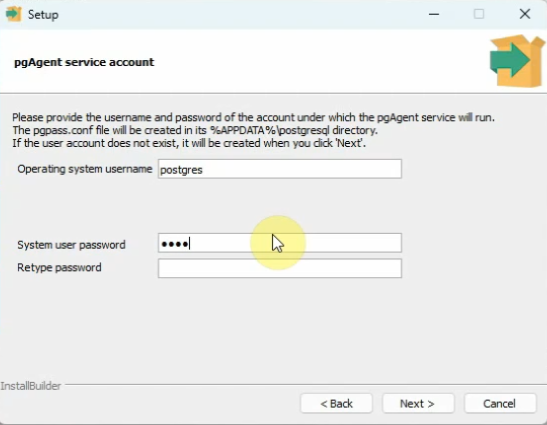
For the “pgAgent” setup, use the same password as before, which is “postgres”.
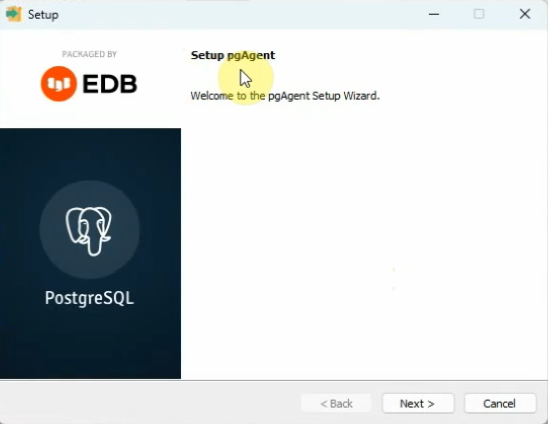
Your system password will be your Windows login password.
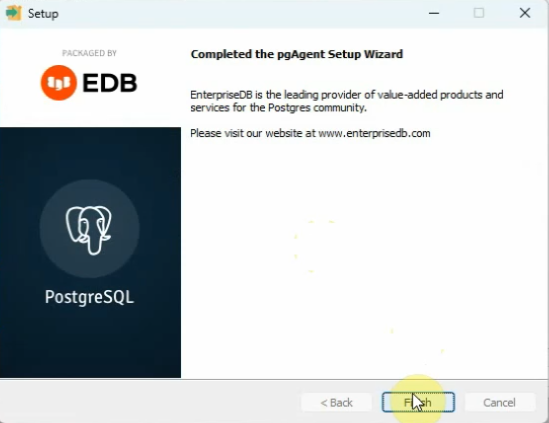
Click “Finish” to complete the installation of “pgAgent”.
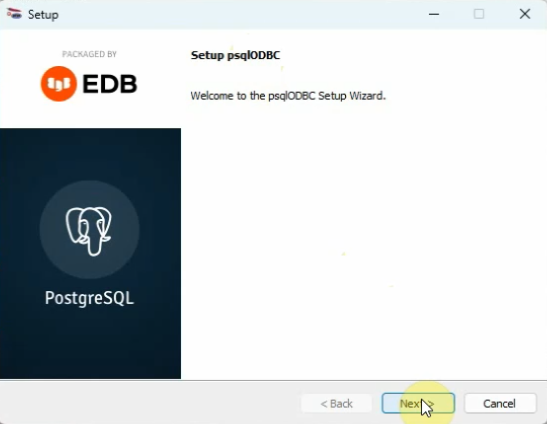
Now, install the ODBC driver.
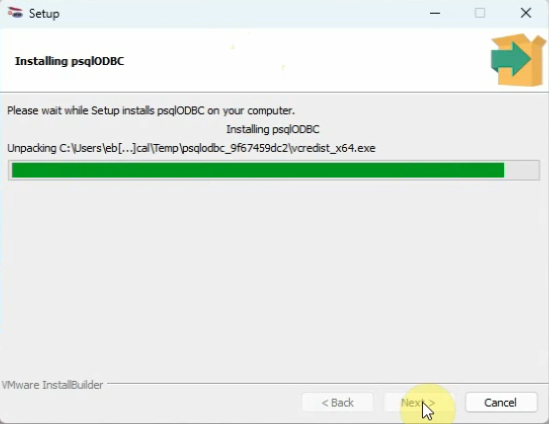
Finally, install PostGIS.
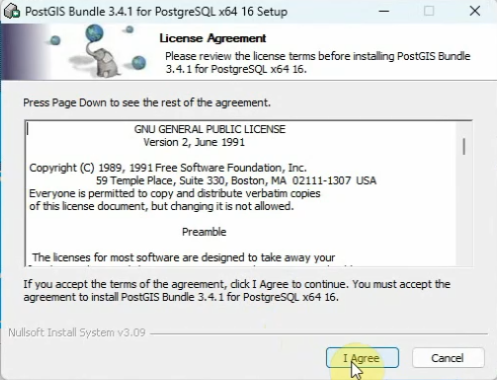
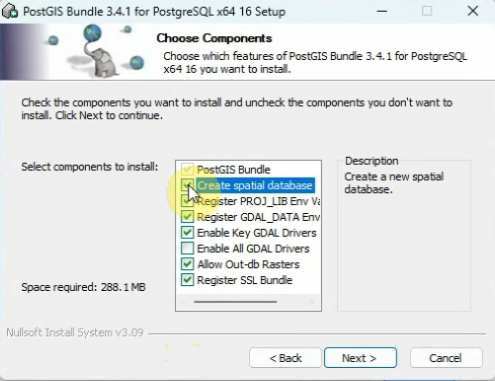
Make sure you check the “Create spatial database” option to test the functionality of this tool. It will create a sample spatial database in PostgreSQL. If this is successful, then you know that PostGIS is working. Click “Next” to proceed.
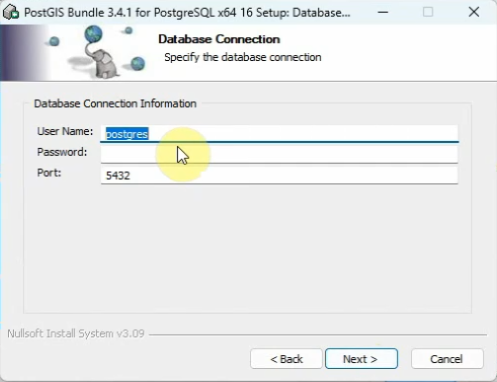
The password for this step is still “postgres”.
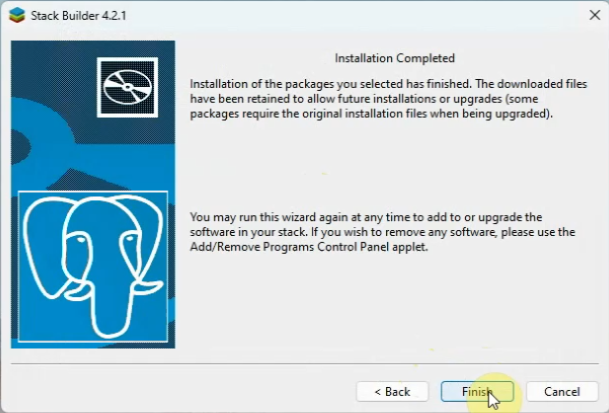
Congratulations! You have successfully installed PostgreSQL and PostGIS on your Windows system.
This marks the end of this guide. Thank you for following along, and see you in the next one!


