Introduction
GeoDjango is a powerful extension of Django that allows for the creation of geographic web applications. However, setting up GeoDjango on a Windows machine can be a bit challenging, especially with the GDAL dependency. This guide will walk you through the installation and configuration process step-by-step.
Prerequisites
Before starting, ensure you have the following installed on your Windows machine:
- Python 3.8 or higher
- Virtualenv
Step 1: Install GDAL with OSGeo4W
First, we’ll install GDAL (Geospatial Data Abstraction Library) using the OSGeo4W installer.
- Download the OSGeo4W Installer:
- Open your web browser and search for “GeoDjango installation”.
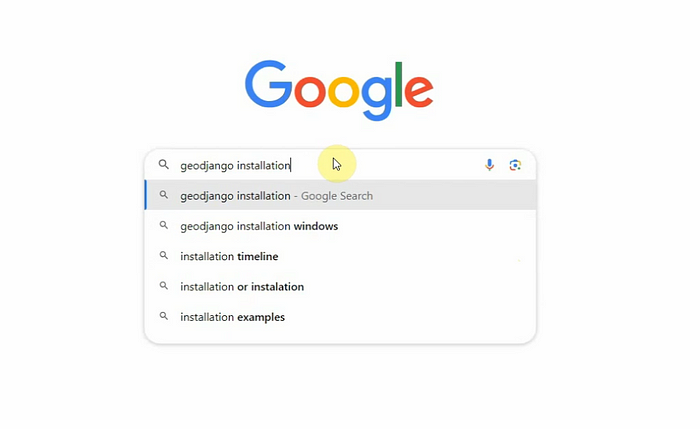
- Click on the appropriate link for GeoDjango installation.
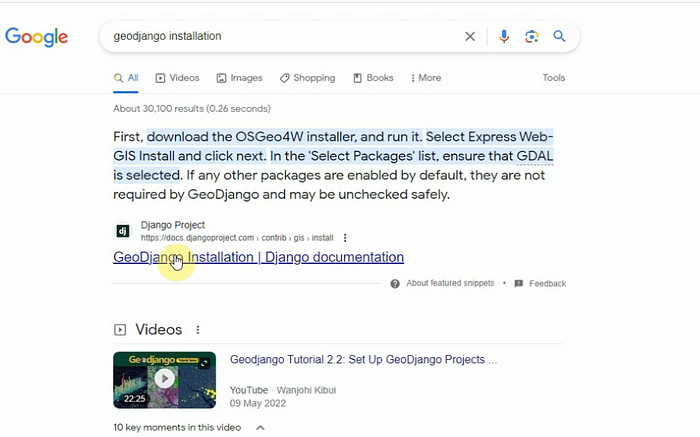
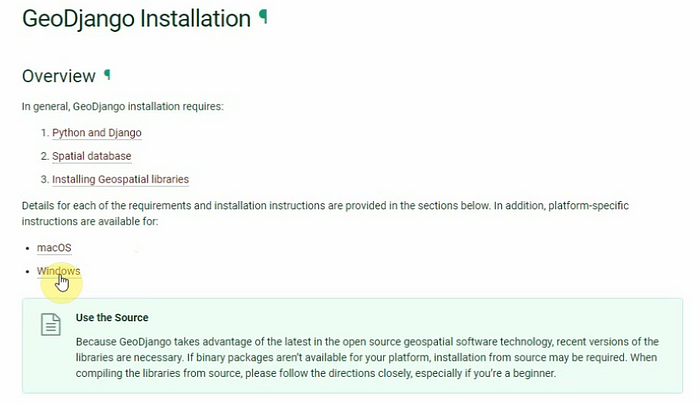
- Select the Windows installation guide and locate the OSGeo4W installer.
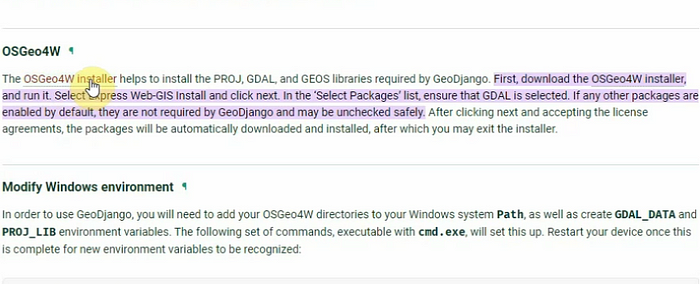
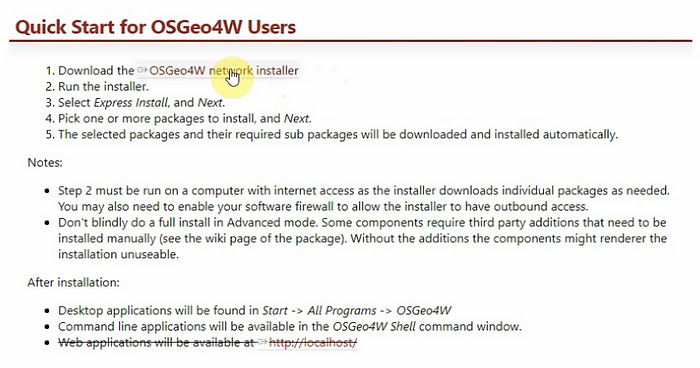
2. Download the Network Installer:
- Under the quick start section for OSGeo4W users, click on the network installer file link to download it.
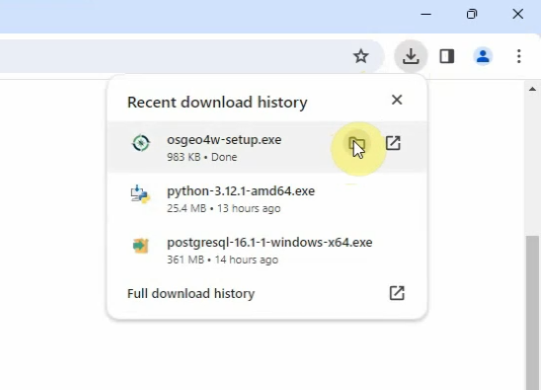
- Once the file is downloaded, open its location on your computer.
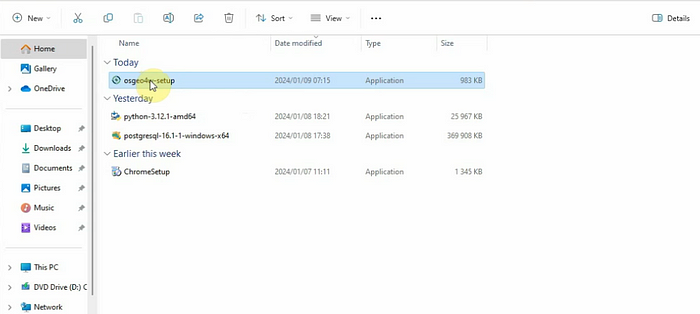
3. Run the Installer:
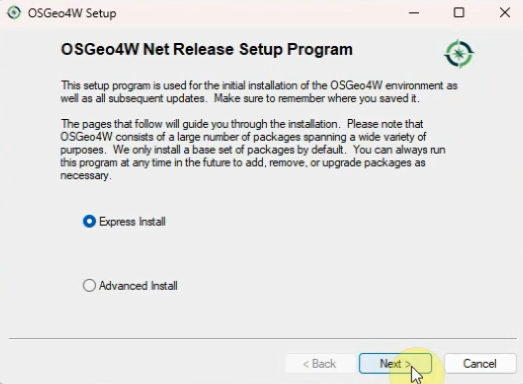
- Double-click the installer file to start the installation process.
- Select the “Express Install” option and click “Next”.
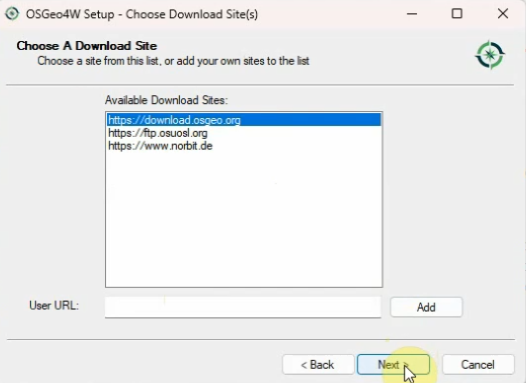
- Choose the first link provided and click “Next” again.
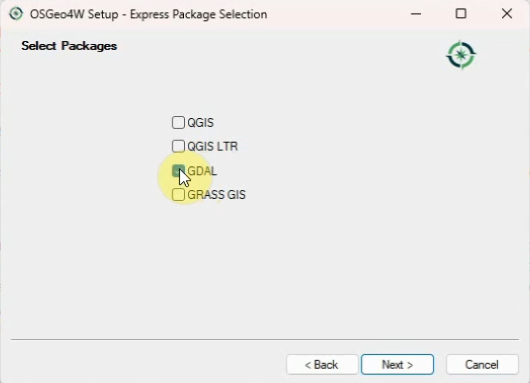
4. Select GDAL for Installation:
- You’ll be presented with several tools to install. Make sure to check the box for GDAL.
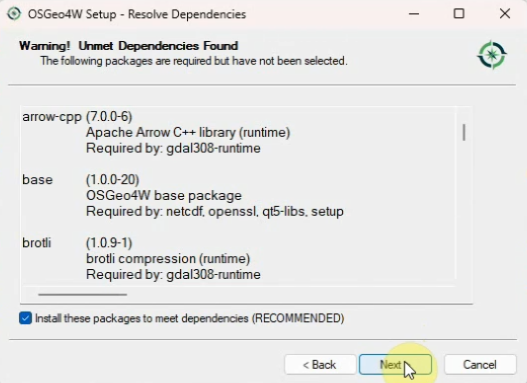
- Download and install all necessary packages.
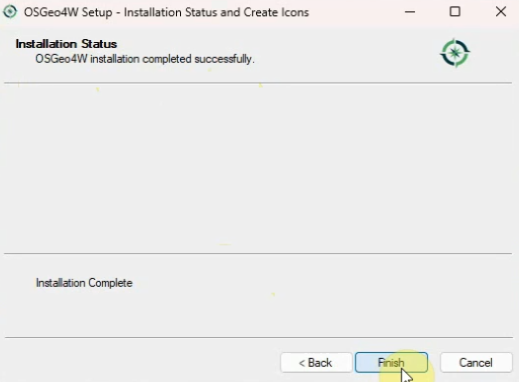
5. Complete the Installation:
- Wait for the installation to complete.
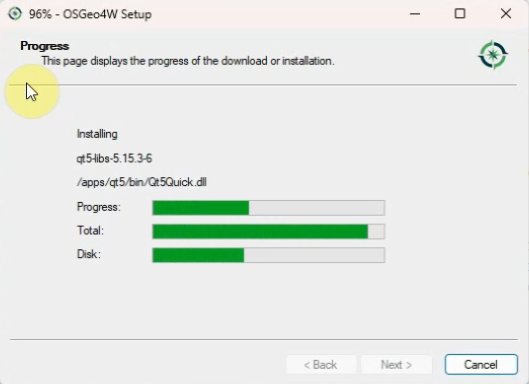
- Once finished, click “Finish” to close the installer.
Step 2: Configure Windows Environment Variables
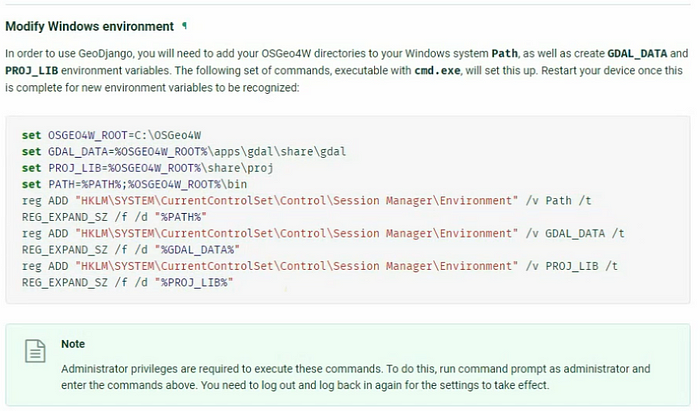
To ensure your GeoDjango application can access the GDAL libraries, we need to modify the Windows environment variables.
- Set Environment Variables:
- Return to the GeoDjango installation page for detailed instructions.
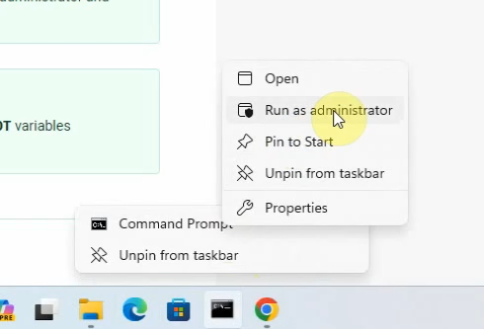
- Open your command prompt as an administrator. To do this, search for “cmd” in the Start menu, right-click on “Command Prompt”, and select “Run as administrator”.
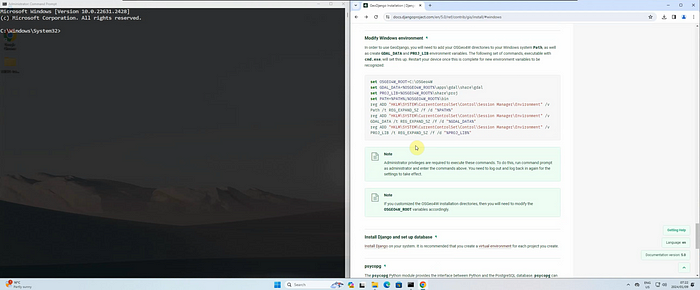
2. Run Configuration Commands:
- Copy and paste the environment variable configuration commands from the GeoDjango installation page into the command prompt, one by one. Press Enter after each command.
set OSGEO4W_ROOT=C:\OSGeo4W
set GDAL_DATA=%OSGEO4W_ROOT%\apps\gdal\share\gdal
set PROJ_LIB=%OSGEO4W_ROOT%\share\proj
set PATH=%PATH%;%OSGEO4W_ROOT%\bin
3. Modify the Registry:
- Some instructions may require you to modify the registry. Copy the provided registry modification commands and run them in the command prompt.
reg ADD "HKLM\SYSTEM\CurrentControlSet\Control\Session Manager\Environment" /v Path /t REG_EXPAND_SZ /f /d "%PATH%"
reg ADD "HKLM\SYSTEM\CurrentControlSet\Control\Session Manager\Environment" /v GDAL_DATA /t REG_EXPAND_SZ /f /d "%GDAL_DATA%"
reg ADD "HKLM\SYSTEM\CurrentControlSet\Control\Session Manager\Environment" /v PROJ_LIB /t REG_EXPAND_SZ /f /d "%PROJ_LIB%"
4. Restart Your PC:
- After running all the necessary commands, restart your computer to apply the changes.
Step 3: Install Django and Required Libraries
Now that we’ve restarted our PC, the changes should have taken effect. Next, we’ll install Django using the pip installer.
- Open Your Project Directory:
- Open your project directory and copy its path.
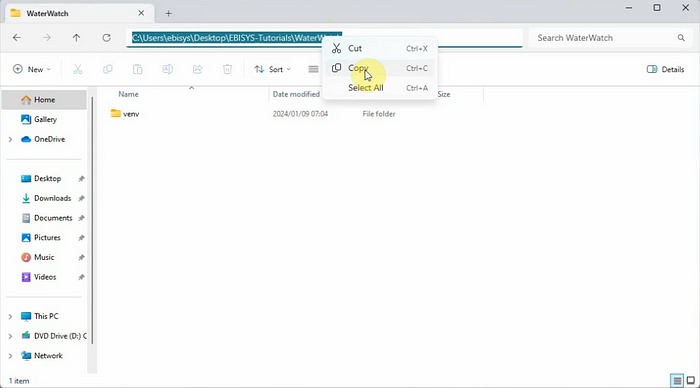
- Open your command prompt and navigate to your project directory using the
cdcommand:
cd path_to_your_project_directory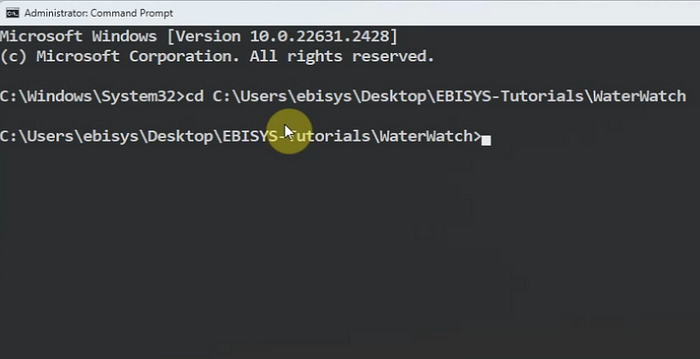
2. Activate Virtual Environment:
- If you haven’t already created a virtual environment, do so by following the post: How to Create a Python Virtual Environment on Windows 11 | Complete Guide | 2024
- Activate the virtual environment:
venv\Scripts\activate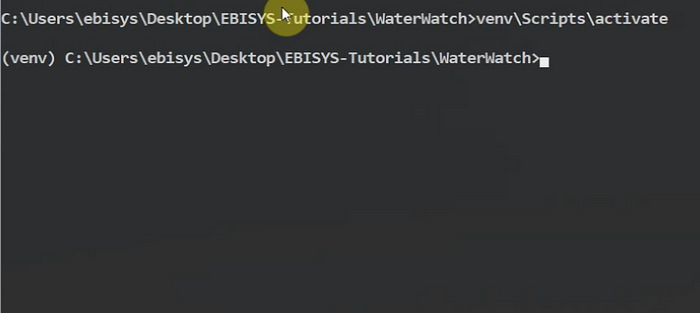
3. Install Django:
- With the virtual environment activated, install Django
pip install django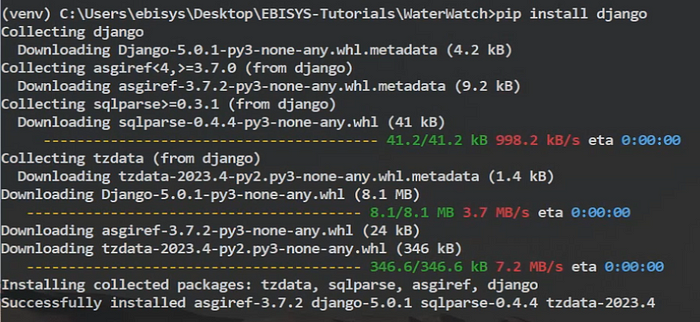
4. Install psycopg2:
- Next, install
psycopg2, a library that allows Django to interact with a PostgreSQL database:
pip install psycopg2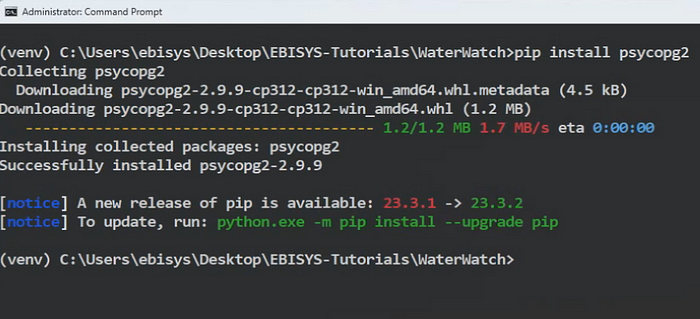
- This library will enable your Django application to connect to and interact with a PostgreSQL database, allowing for reading and writing of spatial data.
Conclusion
By following these steps, you have successfully installed and configured GDAL and GeoDjango on your Windows machine. You are now ready to start building spatial applications with Django.
Stay tuned for the next tutorial, where we’ll dive deeper into creating your first GeoDjango project. If you have any questions or run into any issues, feel free to leave a comment below. Thank you for following along!


